DISCLAIMER: I am not an animator, This series of articles represent what I understood from my experiments and may contain mistakes.
When making my custom rig, I intend to work from the feet to the hands. Since the feet are closer to the root in the hierarchy, that should make things easier. But before actually starting on making the rig, let's quickly to talk about bones in order to understand why I need to do what I'm about to do.
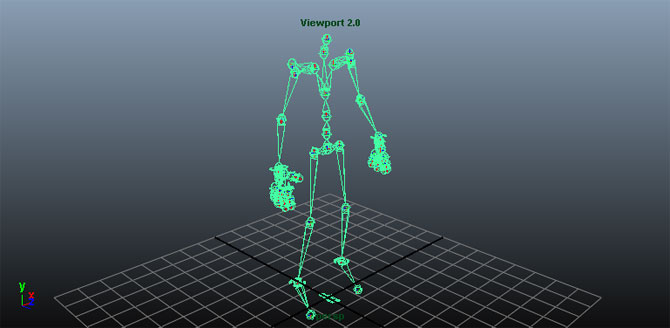
Bones in animation are quite self-explanatory. They define how a mesh can or cannot be deformed in a somewhat natural way in order to create poses and animations. In Maya, rather than working with bones, we work with joints (which are again self explanatory). So, we create the points of articulation, and Maya automatically creates the bones in between them.
 |
| Unreal's default skeleton. The spheres are joints, and the pyramid shaped things are bones. |
By definition, joints are meant to be rotated. Usually, you don't want to translate joints (especially in a character rig), otherwise you'll start stretching or squishing bones, and the associated part of the mesh. So in order to pose, say, a leg, you'll have to rotate all involved joints until you get the desired pose. This is called Forward Kinematics (FK) animation. That's where the first problem comes in. Rotating joints is easy, but rotating up to five joints to pose an arm rapidly becomes irritating.
Fortunately, somebody got annoyed before I did and invented the Inverse Kinematics (IK). Using something called IK solvers, you can basically tell Maya "I want that joint there, so sort out the rest of the joint chain to obtain that pose without deforming the bones." That pretty handy thing is created using IK Handles.
To create an IK Handle (using the tool of the same name in the "Skeleton" menu), you need to select two joints belonging to the same chain. For instance, to get our IK handle on a leg, we will select the ankle joint and the "top-of-thigh" joint. Make sure you're using ikSCsolver in the hande's settings. And that's it! You should see something like the following screenshot, and be able to move the IK handle to see the results.

If you experience... odd results (such as the leg not bending), it might be that the preferred angle of the joint is not set properly. Each joint has something called the preferred angle. To put it simply, it's the default pose of the joint. It is used by the IK Handle to figure out which way to bend. So if you're having trouble with the IK handle, you need to pose the leg in a slightly bent way and set the preferred angle on the knee joint (right click, set preferred angle) before creating the IK handle. Then all should be fine.
Next time, I will be creating a controller for the foot and explain why it's a sensible thing to do.
No comments:
Post a Comment
Note: only a member of this blog may post a comment.